How to Change Display Format of Auto-Number Field on Existing Records in Salesforce
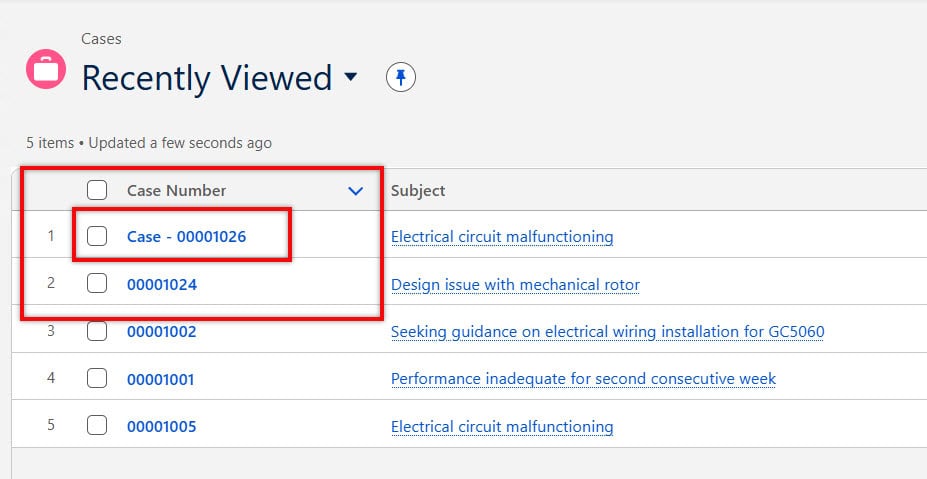
So, you created an Auto-Number field in Salesforce some time ago, but now the format no longer matches your current business needs. Maybe the prefix has changed, maybe you need more digits, or your organization has introduced a new naming convention. Because of this, you want to update the Auto-Number field’s display format and understand … Read more >>>